
This week we wrapped up the concrete portion of the fireplace and built a mantle! I also went shopping for the materials for the tv wall. I’ll share more on that next week!

Let me start by saying, it would’ve been much easier to build the mantle like we built our open shelves. You can find that tutorial here. Let me also tell you this was my first time trying 45° corners, which means, like last week, there was much trial and error. All that to say, if I can do it, you can too!
Here’s what you need:
- table saw
- sharp blade (sharp being the key!)
- nail gun + nails
- wood glue
- 1×8 board (length determined by your mantle)
- 1×10 board (mantle length + depth x 2)
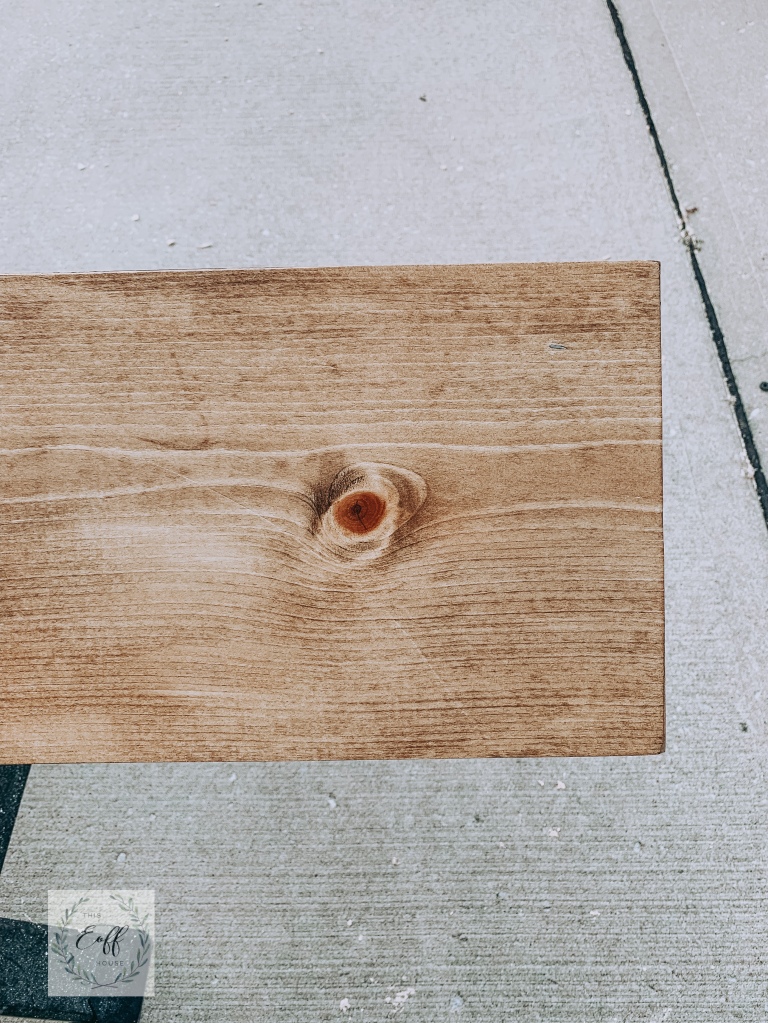
- pre-stain
- stain
45° Angles can be tricky
I’m gonna be honest. I totally messed up the free boards (aka old mantle boards from demo) I was planning to use for this project. And that was super disappointing. But here’s what I learned:
1. practice the cut on a scrap piece of wood first if you can. If the board length is incorrect, measure the difference, and adjust the table saw accordingly. Then cut another practice piece. Repeat until the cut is right. Seriously.
2. use a sharp blade to make your angled cuts. If your blade is dull, get you a new blade for your table saw! If you don’t, you’ll end up with a wavy cut like this:
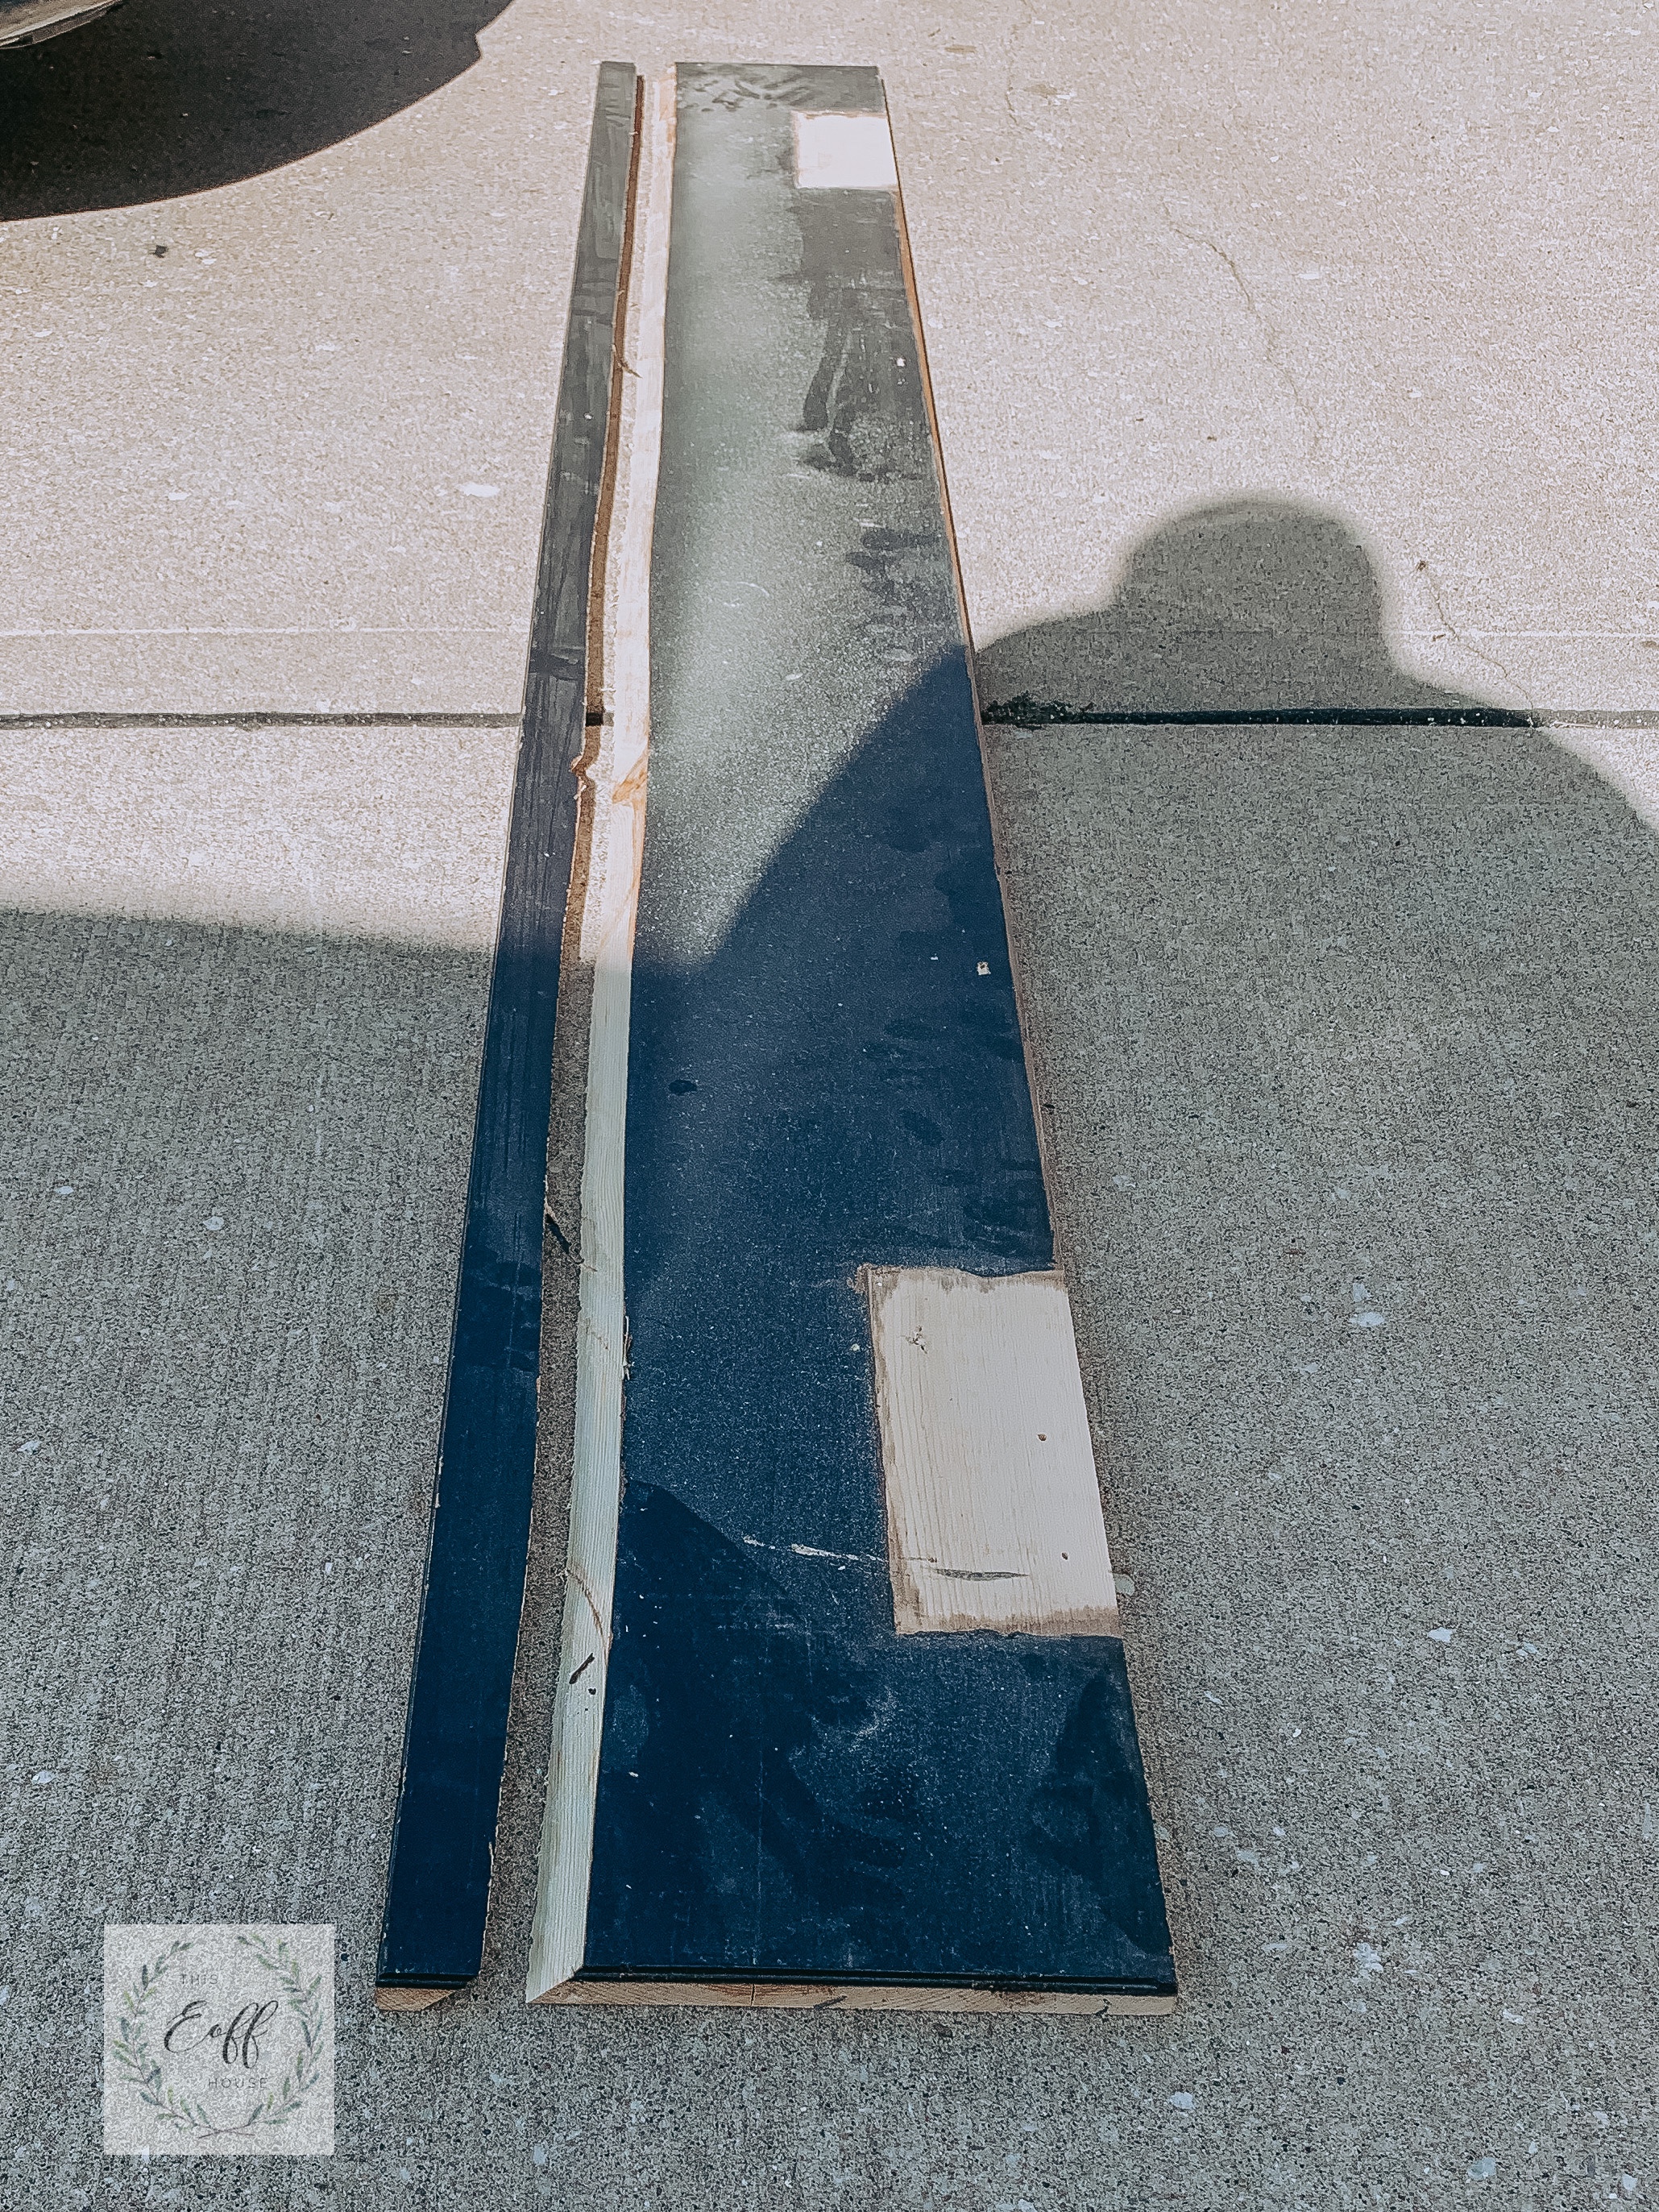
see that wave? 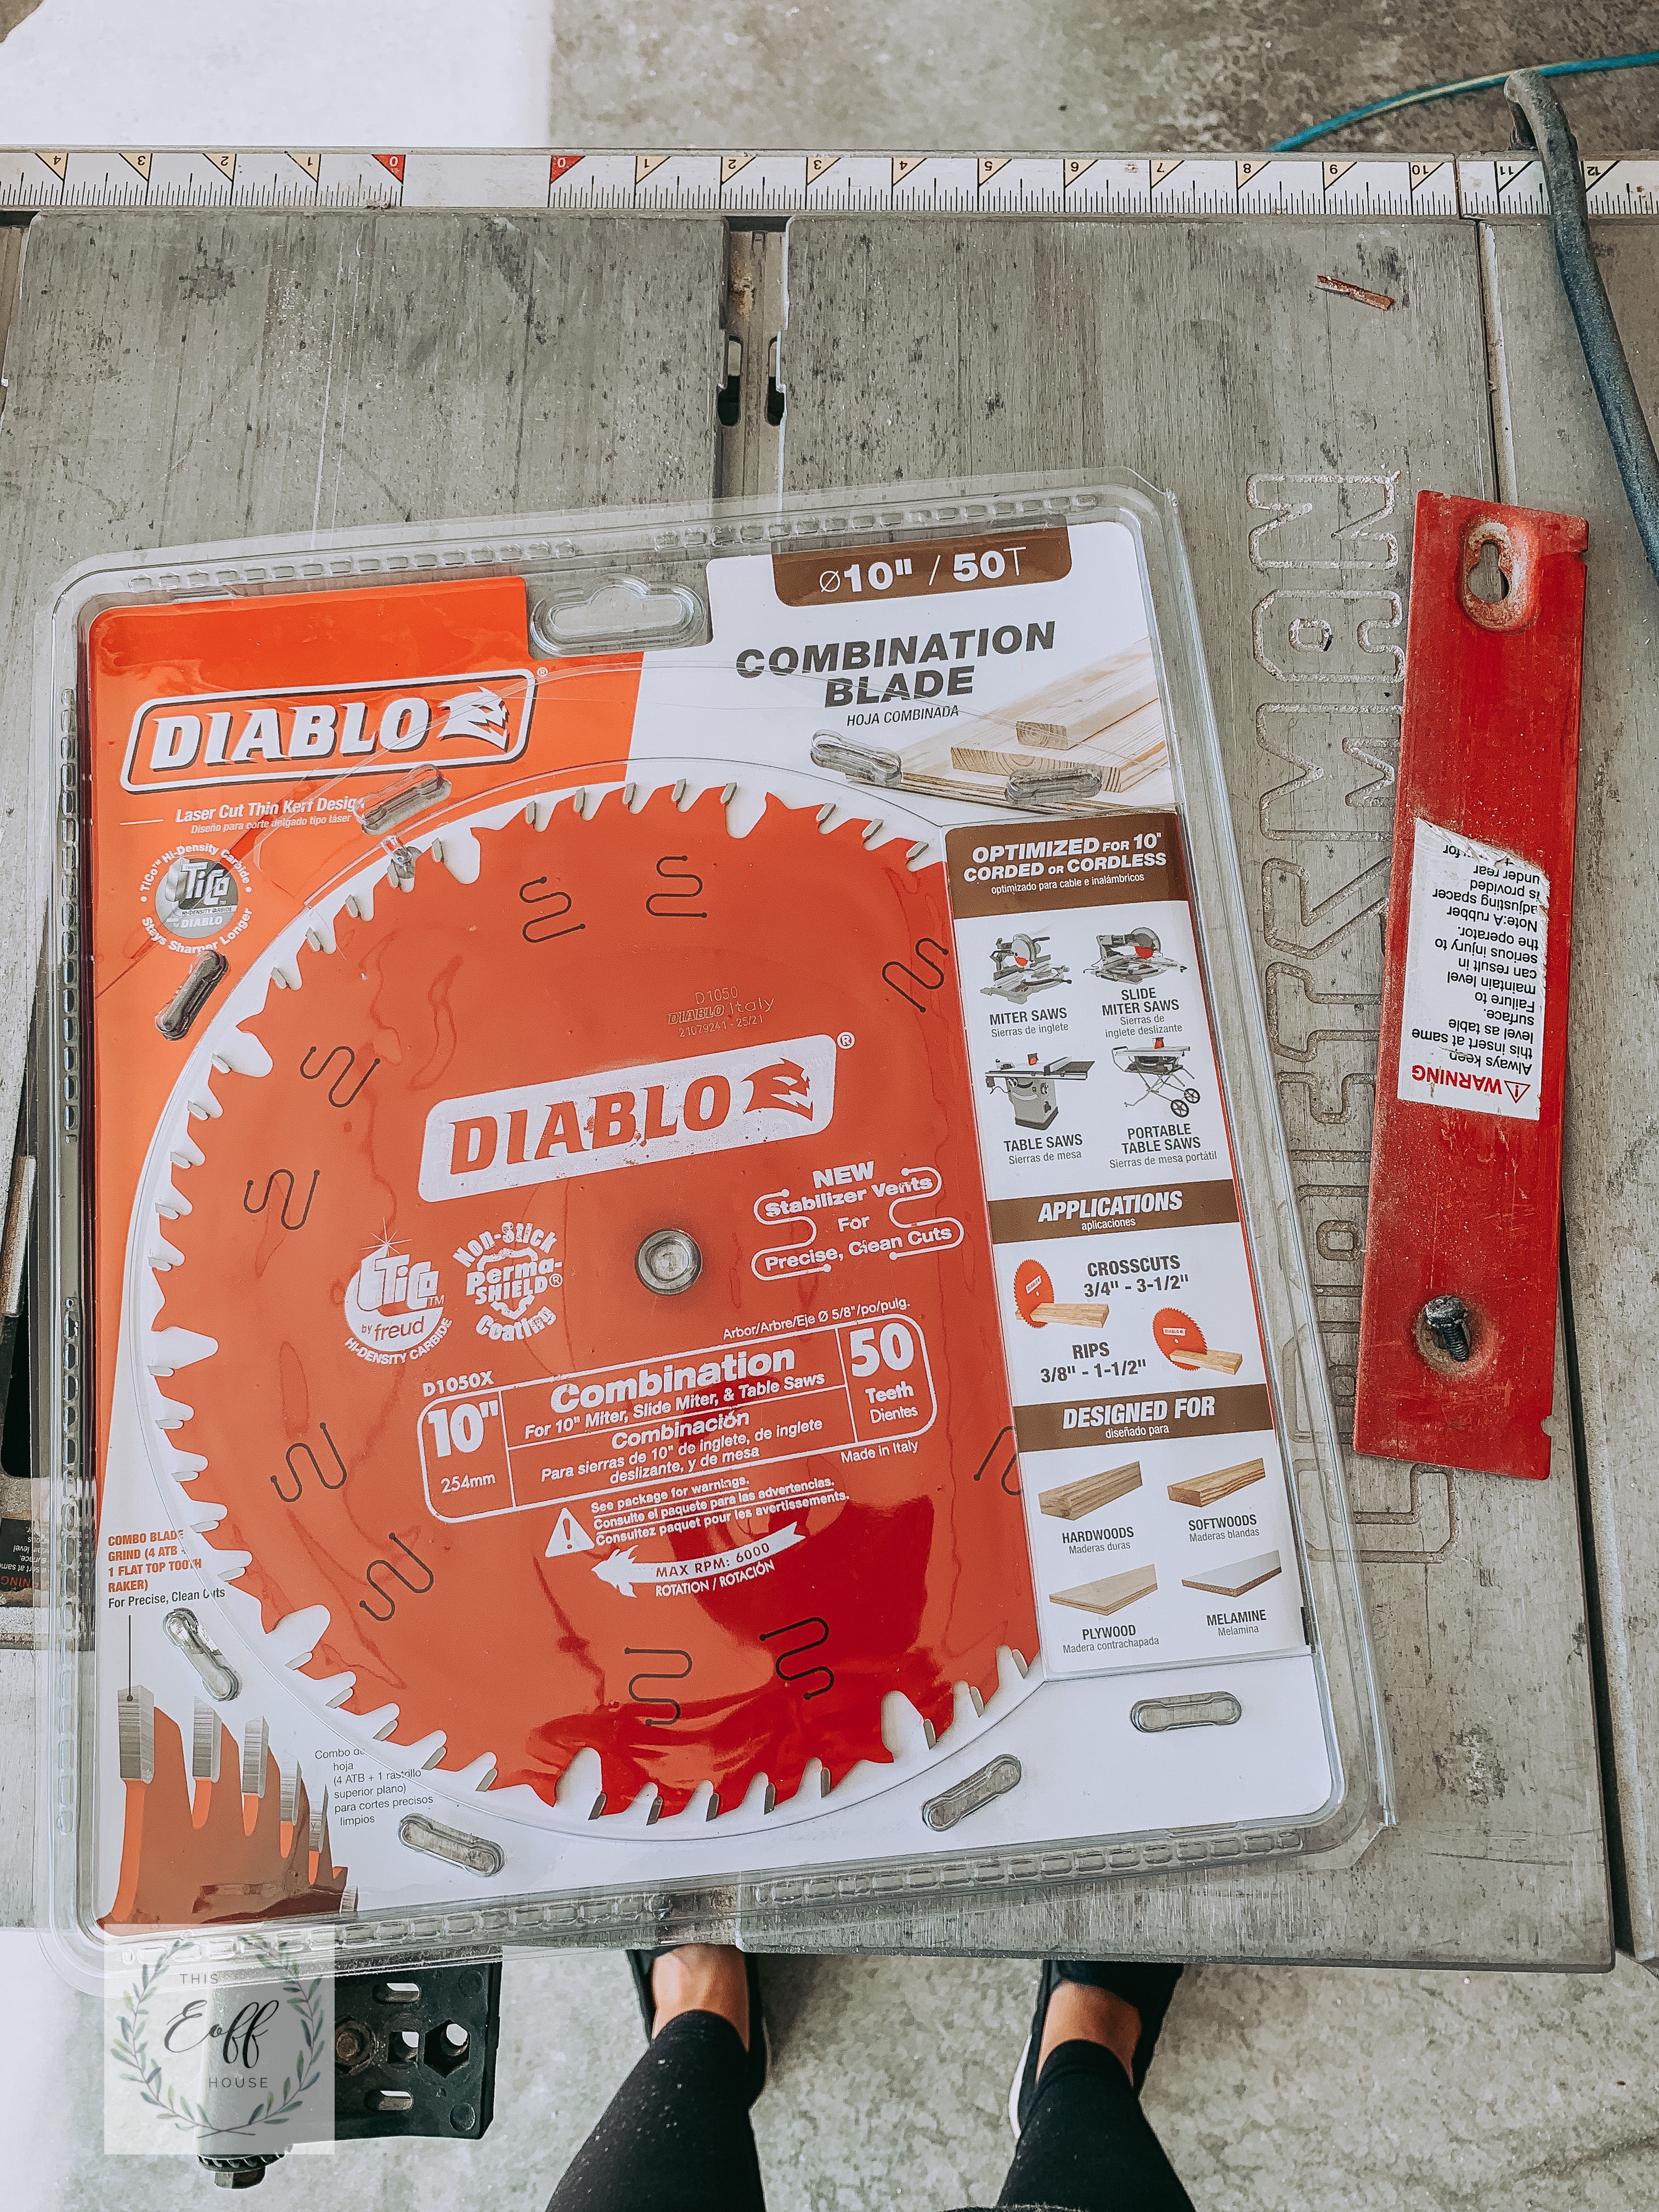
new blade = sharp blade
Okay.
Now let’s cut and assemble these boards.

To be sure I had enough wood, and that they would fit together, I made my cuts in a certain order.
- 45° lengthwise cut on top board
- 45° width cut on side boards
- 45° lengthwise cut on front board
- 45° width cut on both sides of front board
- 45° width cut on both sides of top board
* the bottoms of the front and side boards, and one width side of the side boards were left straight.
Once cut to the right lengths and angles (seriously not an easy task), we laid the boards out to make sure everything fit together.
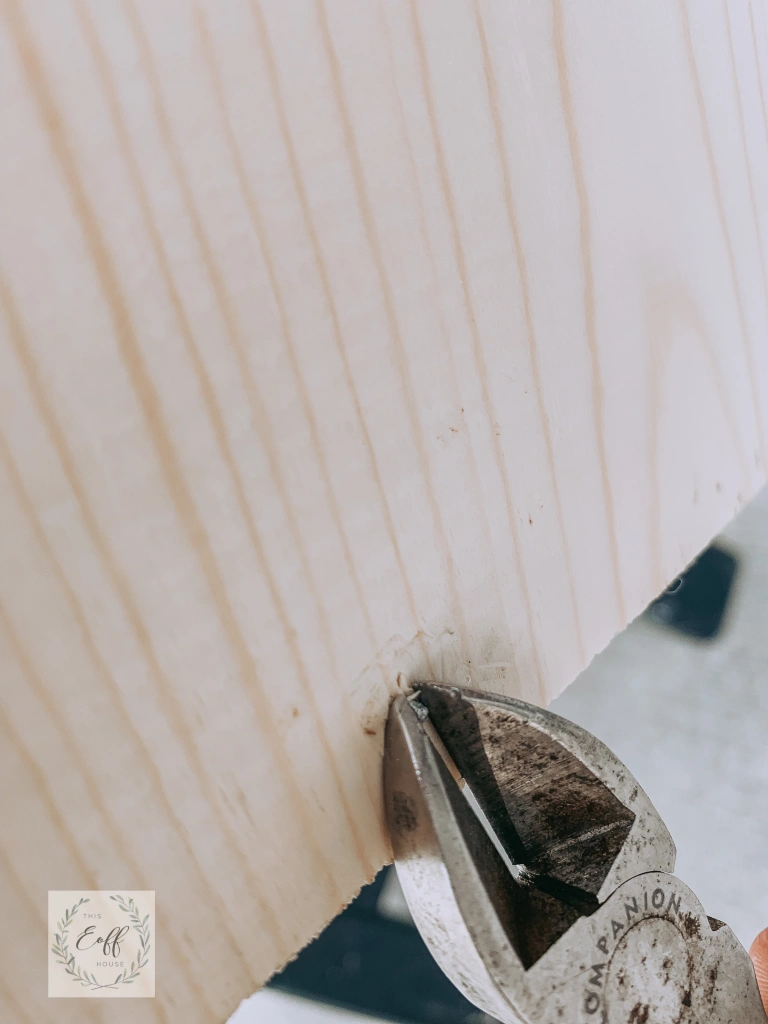
I attached the side pieces to the front pieces first using wood glue and nails. Use a speed square to ensure your boards make a 90° corner. Once square, I finally attached the top piece using wood glue and nails. Be sure to nail straight into the board, not at an angle, or your nail might poke through the front. (Yes that happened to me… I said lots of error, remember?)
Fill Holes & Cracks
I tried a new method to fill cracks that I saw on Instagram.
Sawdust + Wood Glue

Fill the holes/cracks with wood glue and sprinkle sawdust (that you saved from cutting the boards) onto the glue.
Let dry & sand.

Ultimately I preferred using the plastic wood wood filler. After staining, it seemed like their wasn’t that much of a difference in appearance. Also, the plastic wood takes less time to apply and dries much faster.

After filling all of the nail holes and cracks, I sanded it using my orbital sander and 120 grit sandpaper. I blew the dust off and wiped it down with a cloth.

Attaching the Mantle
This mantle was built to slide over the existing mantle. The open bottom will eventually be covered with a section of sanded plywood leftover from the wooden seat. Tutorial coming soon! When that piece is cut, I will attach the new mantle to the old mantle using my nail gun

In the meantime let’s just sit back and admire the beautiful transformation! Check out this before and after!


Until next week friends! Check out more ORC makeovers here.
